Navigation and Controls
The top section of Zeron’s dashboard consists of the following:
- Navigation Bar
- Search Bar
- Date and Time Selection
- Refresh Button
- Notifications

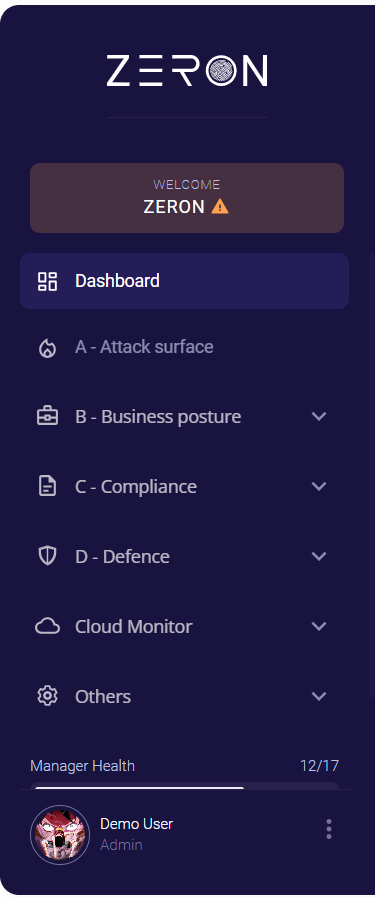
Navigation Bar
The Navigation Bar opens into a collapsible menu containing the following options:
- Dashboards
- Attack surface
- Business posture
- Compliance, Defence
- Cloud monitor
- Others
- Manager Health
- Database Health
- User

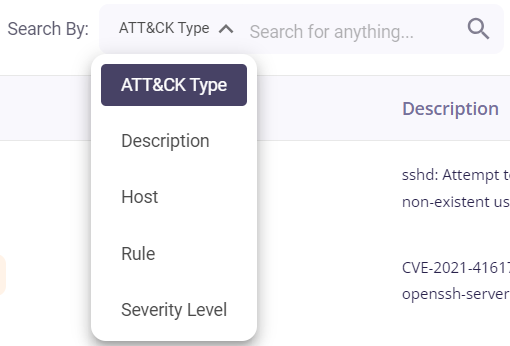
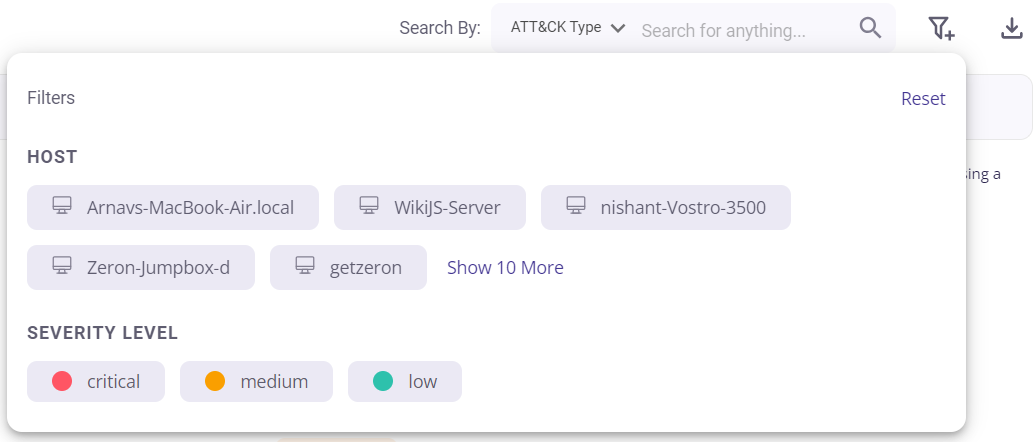
Search bar
The user can use keywords to search for particular events. The search results can be filtered according to the host or severity level of the event. The user is also provided with an option of searching by
- Host: The user can filter according to the device in which the risk was found.
- Description: The description of the risk found in the event.
- MITRE ATT&CK type: The MTRE ATT&CK type the risk falls under.
- Rule:
- Severity level: Level of severity of the risk i.e. low, medium and high.
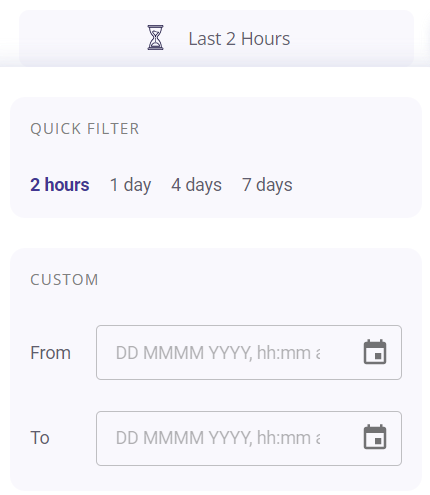
Date and Time Selection
The Date and Time Selection feature offers users the ability to utilize the quick filter option to modify the time period, ranging from the past two hours to the past seven days. Additionally, the custom option enables users to view the Cyber Risk Posture of the organization during a specific time interval.
Refresh button
This button can be used to refresh the dashboard to get the latest results.

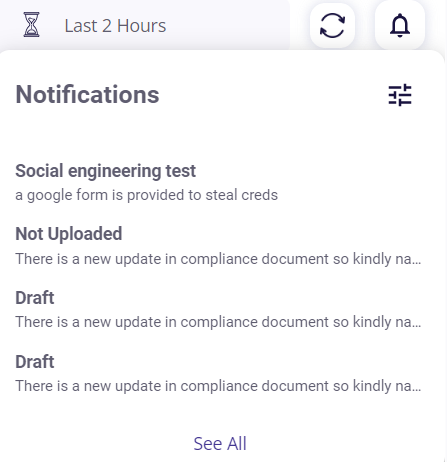
Notifications
The notifications can be seen by clicking on the bell icon. The ‘See All’ option enables the user to get the complete list of notifications. Notifications can also be configured by clicking the configure options icon below the bell icon.
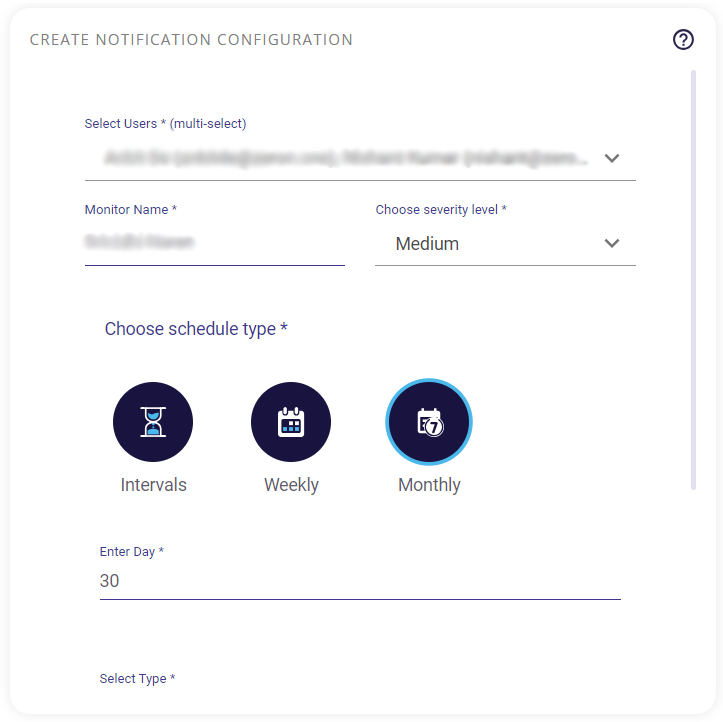
The configure notifications option provides us with a new page wherein the user can schedule and regulate notifications to one or more users.
Steps to configure notifications:
- Go to the Create Notification Configuration tab.
- Select the user(s) you want to notify.
- Enter the Monitor name.
- Enter the severity level of the notification.
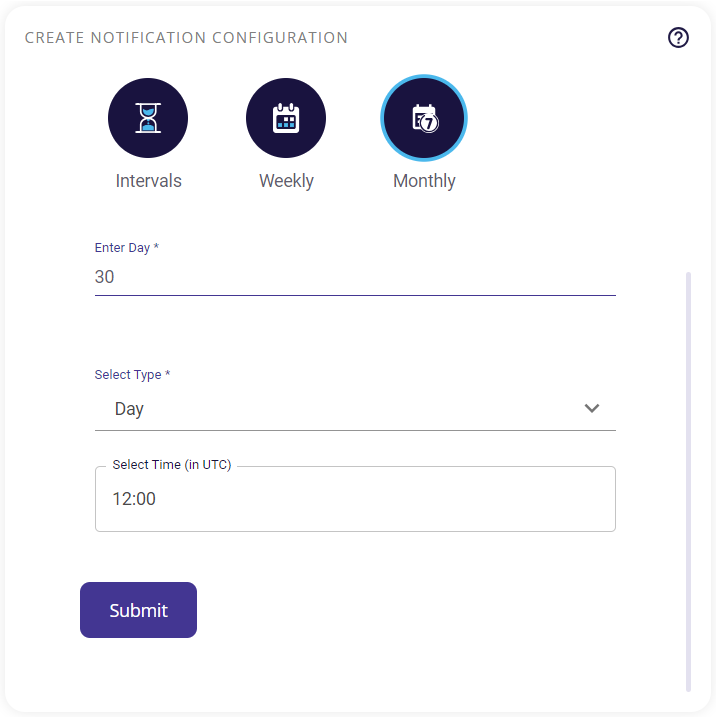
- Choose the schedule type (minutes/ hours/ weekly/ monthly)
- Specify the day(s)/ date and time for the notification.
- Click on ‘submit’.
- After clicking ‘submit’, go to the ‘Notification Configurations’ tab to check for the entry.
- The details of the notification can be seen by clicking on the drop-down icon.
